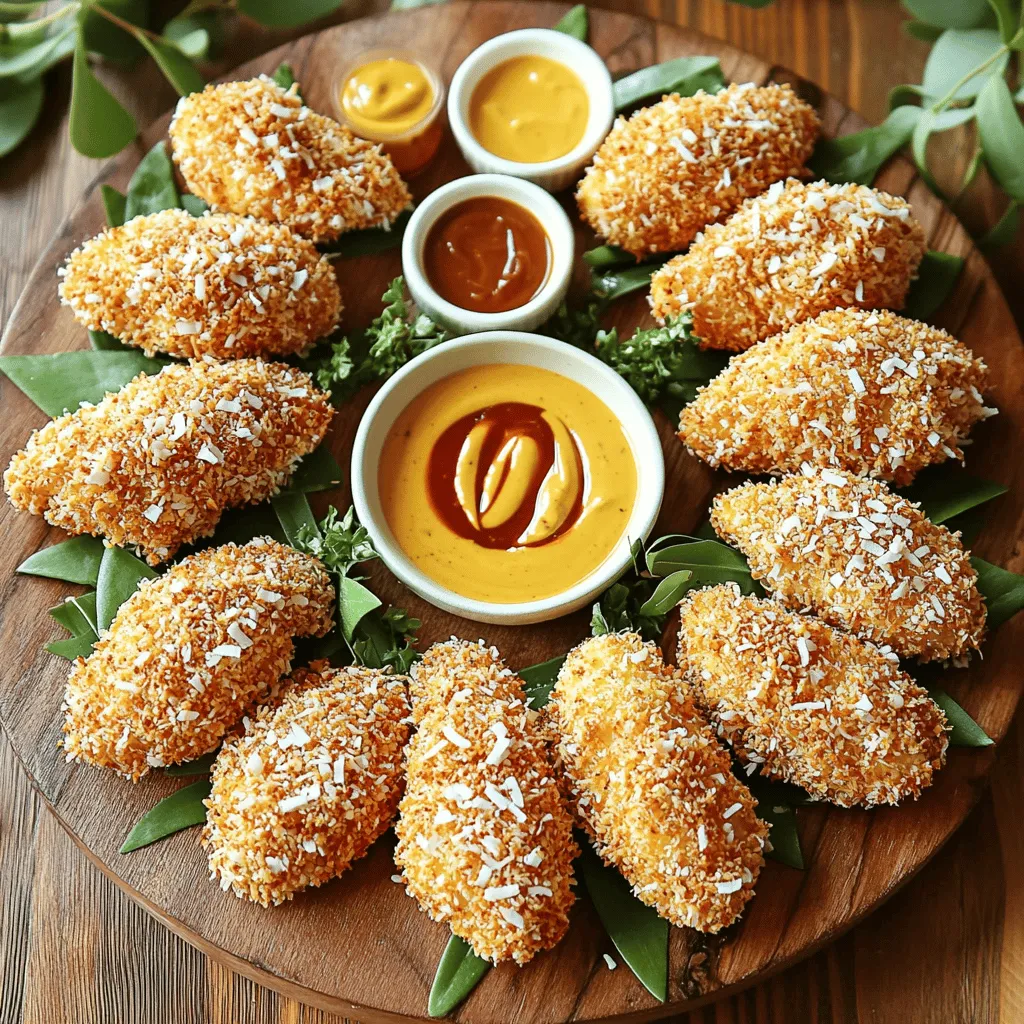
Craving something crispy and flavorful? Let’s make homemade chicken tenders that will impress! With simple ingredients, you can whip up these tasty bites in no time. I’ll guide you through each step, from breading to frying. Plus, I’ll share tips to avoid common mistakes. Get ready to enjoy your new favorite meal that’s perfect for kids and adults alike! Dive in for all the delicious details!
Ingredients
Main Ingredients for Homemade Chicken Tenders
– 1 lb chicken breast
– 1 cup all-purpose flour
– 2 large eggs
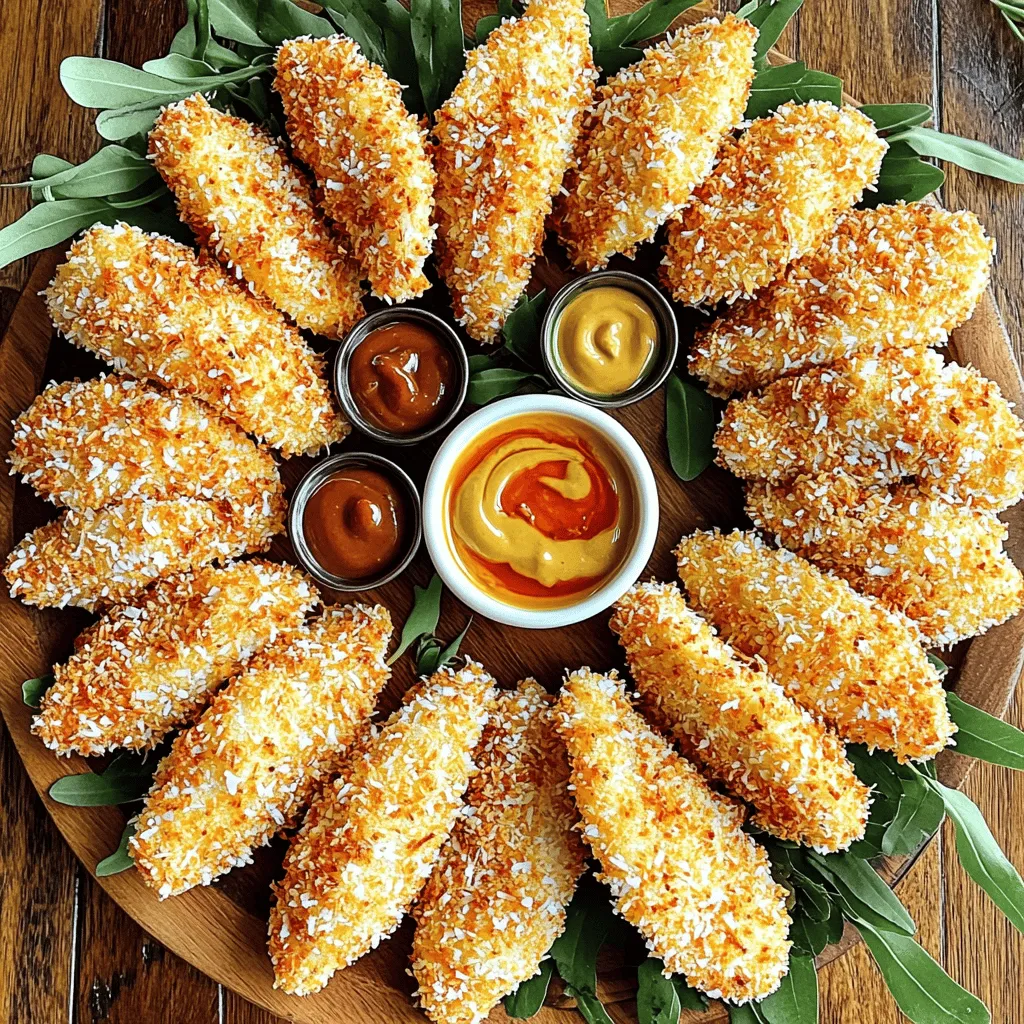
– 1 cup shredded unsweetened coconut
– 1 cup panko breadcrumbs
You start with fresh chicken breast. Cut it into strips. This ensures even cooking and easy handling. Then, gather flour, eggs, coconut, and panko breadcrumbs. These will help create a crispy, flavorful coating.
Seasoning Options
– Garlic powder, paprika
– Salt and pepper
– Additional spices for flavor enhancement
Seasoning is key. I use garlic powder and paprika for a nice kick. Adjust salt and pepper to your taste. Feel free to add other spices too, like cayenne for heat or Italian herbs for a twist.
Oil Selection for Frying
– Canola oil vs. vegetable oil
– Tips on oil temperature for frying
Choosing the right oil matters. Canola oil works well for frying. It has a high smoke point and neutral taste. Vegetable oil is a good option too. Heat your oil to about 350°F (175°C). This temperature is perfect for crisping the tenders without burning them.
Step-by-Step Instructions
Preparing the Breading Station
To start, gather three bowls. In the first bowl, mix the flour with garlic powder, paprika, salt, and pepper. This is your dry mix.
In the second bowl, beat the eggs until smooth. This will help the coating stick well to the chicken.
In the third bowl, combine shredded coconut and panko breadcrumbs. This mix adds crunch to your chicken tenders.
Tip: Make sure you have enough space around each bowl. This will help keep things tidy as you coat the chicken.
Breading the Chicken Tenders
Now, take a chicken strip. First, dip it in the flour mix. Make sure to coat it fully and shake off any extra flour.
Next, dip the floured chicken into the beaten eggs. Let the extra egg drip off.
Finally, roll the chicken strip in the coconut and panko mix. Press down gently to help it stick. Repeat this for each chicken strip.
Tip: Keep a steady hand to ensure an even coating. This is key to getting the best texture.
Frying the Chicken Tenders
Heat oil in a large skillet over medium heat. Aim for about 350°F (175°C). This is the right temperature for frying.
Carefully place the breaded chicken strips into the hot oil. Do not overcrowd the pan.
Fry the chicken tenders for about 4-5 minutes on each side. Look for a golden brown color. The internal temperature should reach 165°F (74°C) for safety.
To check for doneness, you can cut one open. If it’s no longer pink, it’s done!
Once cooked, use a slotted spoon to transfer the chicken to a paper towel-lined plate. This helps remove excess oil.
Serve your crispy chicken tenders hot with your favorite dipping sauce.
Tips & Tricks
Achieving the Perfect Crispy Coating
To get that perfect crispy coating, press the coating onto the chicken. This step makes sure the breading sticks well. Panko breadcrumbs work best because they have a light and airy texture. This texture creates more surface area for crispiness when frying.
Serving Suggestions
Serve your chicken tenders with dipping sauces. I love honey mustard for its sweet and tangy flavor. Sweet chili sauce is another great option for those who like a little heat. For sides, consider crispy fries or a fresh salad. These pair nicely with the tenders.
Common Mistakes to Avoid
Avoid overcrowding the pan while frying. This can cause the oil temperature to drop, making the coating soggy. Also, be sure to season the chicken well before breading. Proper seasoning enhances the overall flavor and prevents bland bites.
Variations
Flavor Variations
You can spice up your chicken tenders in fun ways. For a spicy version, add cayenne or hot sauce to your flour mix. This adds heat and makes your tenders exciting. If you prefer sweet flavors, try a coconut twist. Mix a hint of lime zest into your coconut and panko mix. This creates a tropical vibe that brightens each bite.
Cooking Method Variations
You don’t have to fry your chicken tenders. Baking them is a great option. Preheat your oven to 425°F (220°C). Place the breaded tenders on a baking sheet lined with parchment paper. Bake for 15-20 minutes, flipping halfway. They will be golden and crispy without the extra oil.
You can also use an air fryer for a healthier option. Preheat the air fryer to 400°F (200°C). Place the tenders in a single layer in the basket. Cook for about 10-12 minutes, flipping halfway through. The tenders will turn out crispy without much oil.
Substitutions
If you need a gluten-free option, use almond flour or a gluten-free flour blend instead of all-purpose flour. This makes the recipe safe for those with gluten sensitivities.
For those who avoid dairy, try using a flax egg as a substitute for eggs. Mix one tablespoon of ground flaxseed with two tablespoons of water. Let it sit for about 5 minutes until it thickens. This works well for coating the chicken.
These variations let you enjoy homemade chicken tenders in many fun and tasty ways.
Storage Info
Storing Leftovers
To keep your chicken tenders fresh, store them in an airtight container. Place a paper towel at the bottom of the container. This will absorb moisture and help prevent sogginess. Seal the container tightly and refrigerate. Homemade chicken tenders last about three days in the fridge.
Reheating Tips
When it’s time to enjoy your leftovers, you want them crispy again. The best way is to use an oven. Preheat your oven to 400°F (200°C). Place the chicken tenders on a baking sheet lined with parchment paper. Bake them for about 10-12 minutes. This method helps keep them crispy and warm.
Freezing Homemade Chicken Tenders
You can also freeze your chicken tenders for later. Let them cool completely before freezing. Arrange them on a baking sheet in a single layer. Freeze for about an hour, so they don’t stick together. Once frozen, transfer them to a freezer bag. Squeeze out as much air as possible. They can last up to three months in the freezer. To thaw, place them in the fridge overnight. Then, reheat in the oven as mentioned earlier. Enjoy your tasty homemade chicken tenders anytime!
FAQs
How long do homemade chicken tenders last in the fridge?
Homemade chicken tenders last about 3 to 4 days in the fridge. Store them in an airtight container. This keeps them safe from bacteria and helps them stay fresh. If you want to keep them longer, consider freezing.
Can I make chicken tenders ahead of time?
Yes, you can make chicken tenders ahead of time. You can bread them and store them in the fridge for a day. Just remember to cook them before serving. You can also freeze them before frying. This way, you can fry them fresh later.
What is the best way to make chicken tenders crunchy?
To make chicken tenders crunchy, use panko breadcrumbs. They give a light, crisp texture. Make sure to press the coating onto the chicken. This helps it stick well during frying. Fry at the right temperature, around 350°F. This ensures a golden and crunchy finish.
Can I use chicken thighs instead of breasts?
Yes, you can use chicken thighs instead of breasts. Chicken thighs are juicier and have more flavor. They can also be a bit more tender. However, they may take longer to cook. Adjust your frying time to ensure they reach the right temperature.
Now you have all the steps to make tasty homemade chicken tenders. We covered ingredients, frying tips, and common mistakes. Remember to season well and avoid overcrowding the pan for the best results. Feel free to get creative with flavors and cooking methods. With these tips, you’ll impress everyone at the dinner table. Enjoy crafting your perfect chicken tenders!