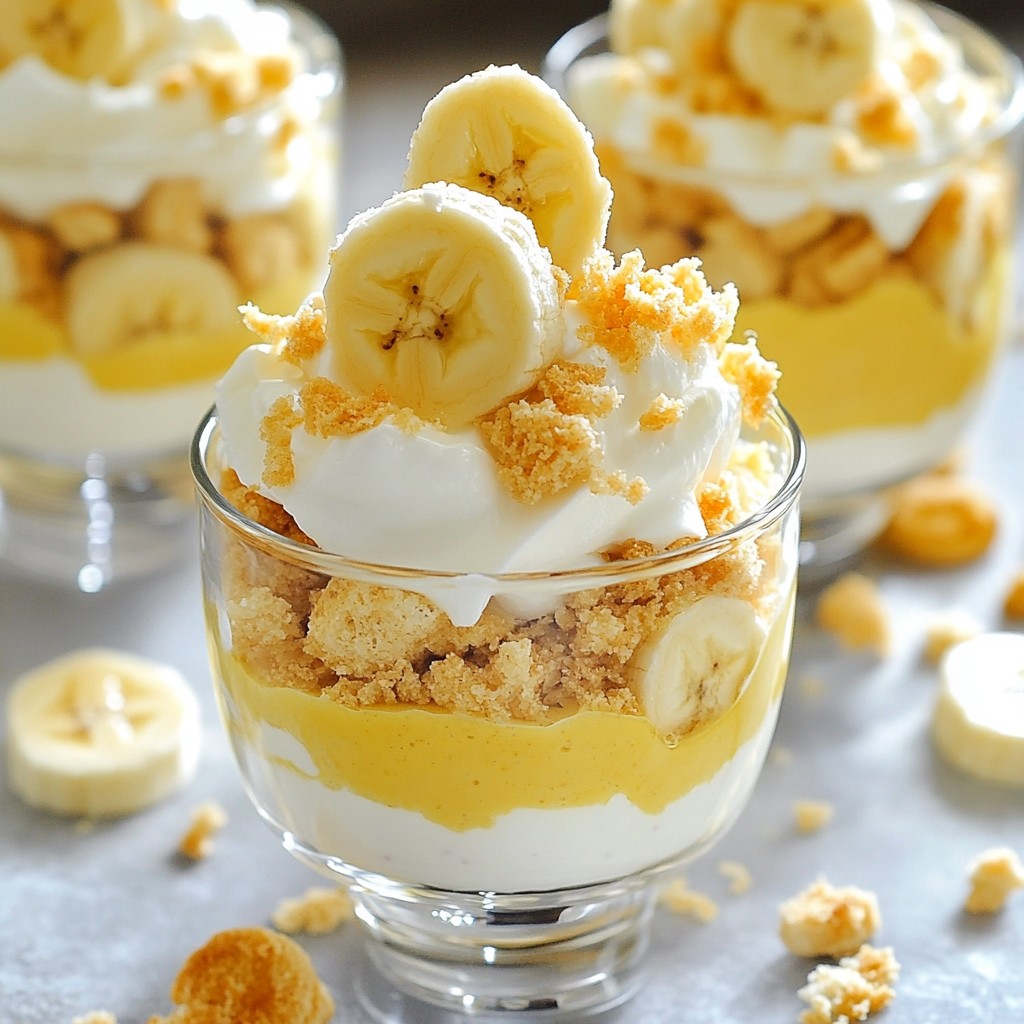
Are you ready for a sweet treat that’s easy and fun? Creamy No-Bake Banana Pudding Cups make dessert a breeze! This simple recipe brings together bananas, creamy pudding, and whipped topping for a delightful taste explosion. Whether you want a quick after-dinner snack or a show-stopping dessert for guests, this guide has everything you need. Let’s dive into the deliciousness right away!
Why I Love This Recipe
- Delicious Layers: The combination of creamy pudding, fresh bananas, and crunchy vanilla wafers creates a delightful texture and flavor experience that is simply irresistible.
- No Baking Required: This recipe is perfect for warm days when you don’t want to turn on the oven. Just mix, layer, and chill!
- Quick and Easy: With a prep time of just 20 minutes, these banana pudding cups are a fantastic last-minute dessert option that impresses.
- Customizable: You can easily adjust this recipe by adding your favorite toppings or using different flavors of pudding to make it your own.
Ingredients
List of Ingredients
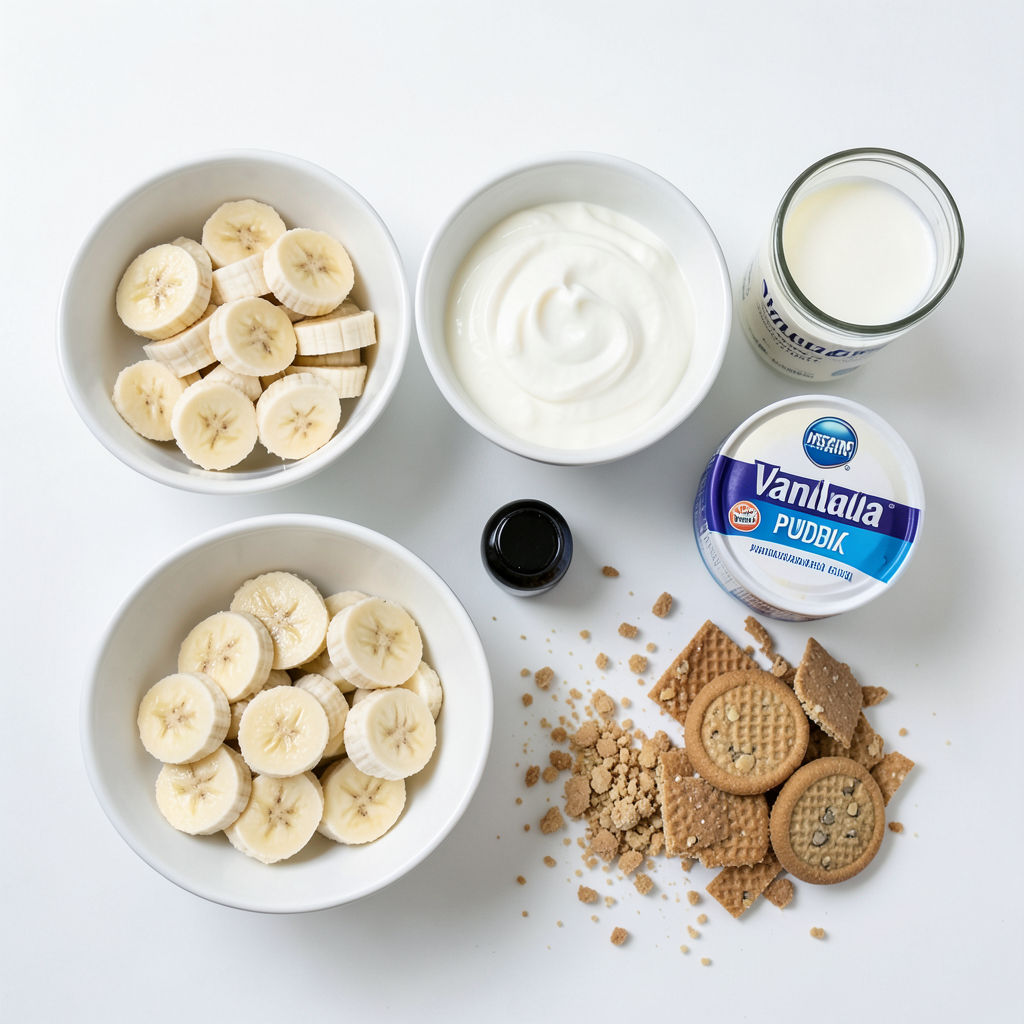
- 2 ripe bananas, sliced
- 1 cup heavy cream
- 1/2 cup sweetened condensed milk
- 1/2 teaspoon vanilla extract
- 1 package (3.4 oz) instant vanilla pudding mix
- 2 cups milk (for the pudding)
- 12 vanilla wafer cookies
Optional Toppings
- Crushed graham crackers for topping
Equipment Needed
- Mixing bowls
- Whisk
- Measuring cups and spoons
- Clear glass cups for serving
- Rubber spatula
Gather all the ingredients and equipment before starting. This helps keep the process smooth. I always find that having everything ready makes cooking more fun. Each layer of this dessert builds flavor and texture. You will love how easy and quick this recipe is!
Step-by-Step Instructions
Preparation of Whipped Cream
To start, grab a mixing bowl and pour in 1 cup of heavy cream. Use a hand mixer or stand mixer to whip the cream. You want to beat it until stiff peaks form. This step is key for a fluffy texture. Once done, set the whipped cream aside.
Making the Pudding Mixture
In another bowl, whisk together 1/2 cup of sweetened condensed milk and 1/2 teaspoon of vanilla extract. Mix until smooth. Next, take a third bowl and add 3.4 oz of instant vanilla pudding mix and 2 cups of milk. Whisk this mixture for about 2 minutes. It will thicken nicely. Finally, gently fold the whipped cream into your pudding mixture. Make sure to mix until fully incorporated.
Assembling the Banana Pudding Cups
Now, it’s time to layer your cups. Start with a spoonful of the pudding mix at the bottom of each cup. Next, add a layer of sliced bananas. Crumble a few vanilla wafer cookies on top. Repeat these layers until you reach the top of the cups. Finish with a layer of pudding. If you like, sprinkle some crushed graham crackers on top for extra crunch. Place the cups in the fridge for at least 2 hours. This lets the flavors meld and the pudding set perfectly.
Tips & Tricks
How to Whip Cream to Stiff Peaks
Whipping cream is easy. Start with cold heavy cream. Pour it into a mixing bowl. Use a hand mixer or stand mixer. Whip on medium speed. It takes about 3 to 5 minutes. Stop when you see stiff peaks form. This means the cream holds its shape well. Be careful not to over-whip. If you do, it will turn grainy.
Layering Techniques for Visual Appeal
Creating layers makes your pudding cups look great. Start with a spoonful of pudding at the bottom. Then, add a layer of sliced bananas. Sprinkle some crumbled vanilla wafers on top of the bananas. Repeat this process. Make sure to finish with a layer of pudding. Use clear cups to show off the layers. You can also top it with a slice of banana and a wafer for a nice touch.
Chilling Tips for Best Texture
Chilling is key for the right texture. After you assemble your cups, place them in the fridge. Let them chill for at least 2 hours. This helps everything set and blend together. The longer you chill, the better the flavors meld. Don't skip this step; it makes a big difference in taste and texture.
Pro Tips
- Use Ripe Bananas: For the best flavor and sweetness, make sure your bananas are perfectly ripe with a few brown spots.
- Chill Your Ingredients: Chill your mixing bowls and beaters before whipping the cream; this helps achieve stiffer peaks more easily.
- Layering Technique: For a beautiful presentation, layer the ingredients carefully, pressing down slightly on each layer to avoid gaps.
- Make Ahead: These cups can be prepared a day in advance; just keep them covered in the refrigerator to let the flavors meld.
Variations
Alternative Toppings and Mix-ins
You can change up the toppings for your banana pudding cups. Try adding whipped coconut cream for a tropical twist. You can also use chocolate shavings or mini chocolate chips for a sweet surprise. If you like nuts, crushed walnuts or pecans add a nice crunch. Use seasonal fruits like strawberries or blueberries for a fresh flavor.
Different Flavor Options for Pudding
While the classic vanilla pudding is great, you can experiment with flavors. Use chocolate pudding mix instead of vanilla for a rich treat. You could also try butterscotch or caramel pudding for a sweet twist. Mixing in a bit of peanut butter powder can add depth and fun. A little cinnamon or nutmeg in the mix can give warmth to the flavors.
Making it Dairy-Free or Vegan
To make this recipe dairy-free, swap the heavy cream with coconut cream. Use almond or oat milk for the pudding. Choose a plant-based condensed milk for the sweet touch. Make sure your vanilla wafer cookies are dairy-free as well. This way, you can enjoy these creamy cups without dairy.
Storage Info
Best Practices for Refrigerating
To keep your creamy no-bake banana pudding cups fresh, store them in the fridge. Use an airtight container to avoid any unwanted odors. If you have leftovers, cover each cup with plastic wrap. This helps maintain the creamy texture and flavor.
How Long Do They Last?
These banana pudding cups last for about three days in the fridge. After that, the bananas may brown and the texture can change. For the best taste, enjoy them within this time frame.
Freezing Tips for Longer Storage
You can freeze these cups for later enjoyment. However, the texture may change once thawed. To freeze, place the cups in a freezer-safe container. When ready to eat, move them to the fridge to thaw overnight. Enjoy your treat within a month for the best quality.
FAQs
Can I use homemade pudding instead of instant?
Yes, you can use homemade pudding. Just make sure it is thick and cold. Instant pudding is quick, but homemade gives a richer taste. If you prefer homemade, follow your favorite recipe. Allow it to chill before adding it to the cups.
How can I make this recipe gluten-free?
To make this dessert gluten-free, choose gluten-free vanilla wafers. Many brands offer these options. Check the package to ensure they are safe. You can also use crushed gluten-free cookies or graham crackers for a tasty topping.
Can these be made in advance?
Yes, you can make these cups ahead of time. They taste great when chilled for a few hours. Just make sure to cover them tightly. You can store them in the fridge for up to two days. This makes them a perfect treat for parties or gatherings.
You’ve learned how to create delicious banana pudding cups. We covered ingredients, step-by-step instructions, and tips to make them shine. Plus, we explored tasty variations and storage tips. Now, you’re ready to impress friends and family with your pudding skills. Remember to be creative with toppings and enjoy your tasty treats!